Registration for Current Students
Go to WolvesNet and click on the Registration card or go directly to the Registration Page. Be sure to follow the steps below.
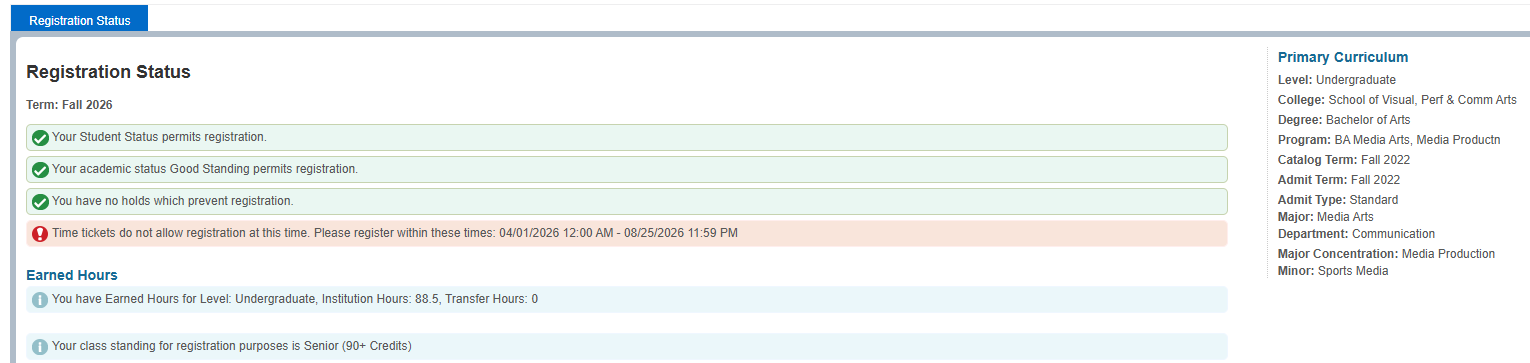
 Prepare for Registration:
 Click Prepare for Registration to get important details before your registration date.
- Select your registration term.
- Check for any holds on your account (these must be resolved before you can register).
- Find your registration dates.
NOTE: You must meet with your advisor and obtain a registration PIN number prior to fall and spring registration. Pins are not required for summer or winter intersession registration.
![]() Browse Classes:
Browse Classes:
 Click Browse Classes to explore available courses.
- Select your registration term.
- Search for classes by subject, course number, course name, or other filters.
- In your search results, you can reorder the columns by dragging the column titles or resize them by dragging the vertical lines between them.
- Search results show 10 sections per page by default. To see more results, click the right arrow to go to the next page. You can also change how many sections are displayed by selecting the dropdown next to “10” and choosing 15, 20, or 50.
- Click on course titles to view class details in a pop-up window.
 Registration:
 Plan Ahead. Before registration you can create a Plan.
A Plan is a list of classes that you can add to your schedule prior to registration.
- Select the registration term
- Select Create a New Plan
- Use the Subject, Course Number, and/or Keyword search to find a course. Type or select the subject of the course you’d like to find and select Search
- Select View Sections to make sure class sections exist.
- Once you find the exact section you want, select Add Course.
- After adding one or more sections to your Plan select Save Plan and Name your Plan.
 Register for Classes
You must obtain a registration PIN number from your faculty advisor prior to fall and spring registration. Pins are not required for summer or winter intersession registration.
Select Register for Classes then select the registration term. You will be shown a course search page with four tabs across the top.
You have three options for adding classes to your schedule.
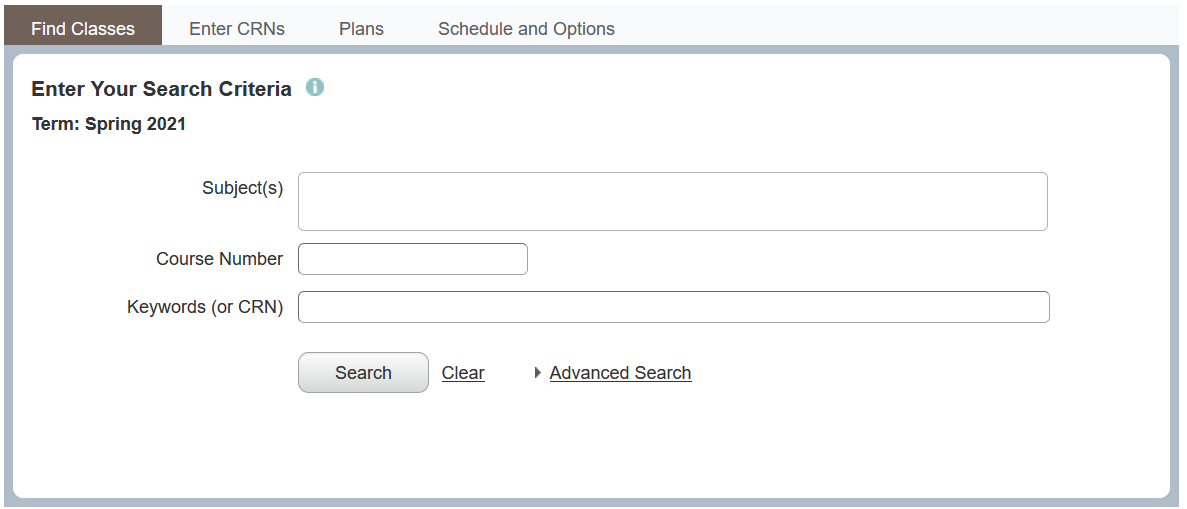
Find Classes tab (Option 1):
- Enter some search criteria and click Search.
- Select
to add a class to your Summary (i.e. shopping cart). A preview will appear in your schedule in the lower left.
- Select
on the bottom of the page to submit classes in your Summary for registration.
Enter CRNs tab (Option 2):
- On the Enter CRNs tab, type a CRN into the text box. If you press Tab or select + Add Another CRN, the course’s subject, number, section, and title will appear.
- Select
Plans tab (Option 3):
- Select
to add all class sections to your Summary.
- Select
The last tab, Schedule and Options, will show you a summary of your registration and a weekly schedule. It is similar to the content on the bottom half of the Find Classes, Enter CRNs, and Plans tabs.
Non-Degree Seeking students may access the registration form HERE.
![]() Registration Resources
Registration Resources
- Degree Works and Registration
- eCashier – WestConn’s new online payment plan
- Registrar’s Office Email: requestregistrar@wcsu.edu